The Big Recap!
- Session
- 33 of 33
- Date
- 1 November 2026
- Time worked
- 1 h
- Reading time
- 4 min
- Images
- 9
Hey,
a lot of time has passed since the last journal, and I want to give a small (or big) recap!
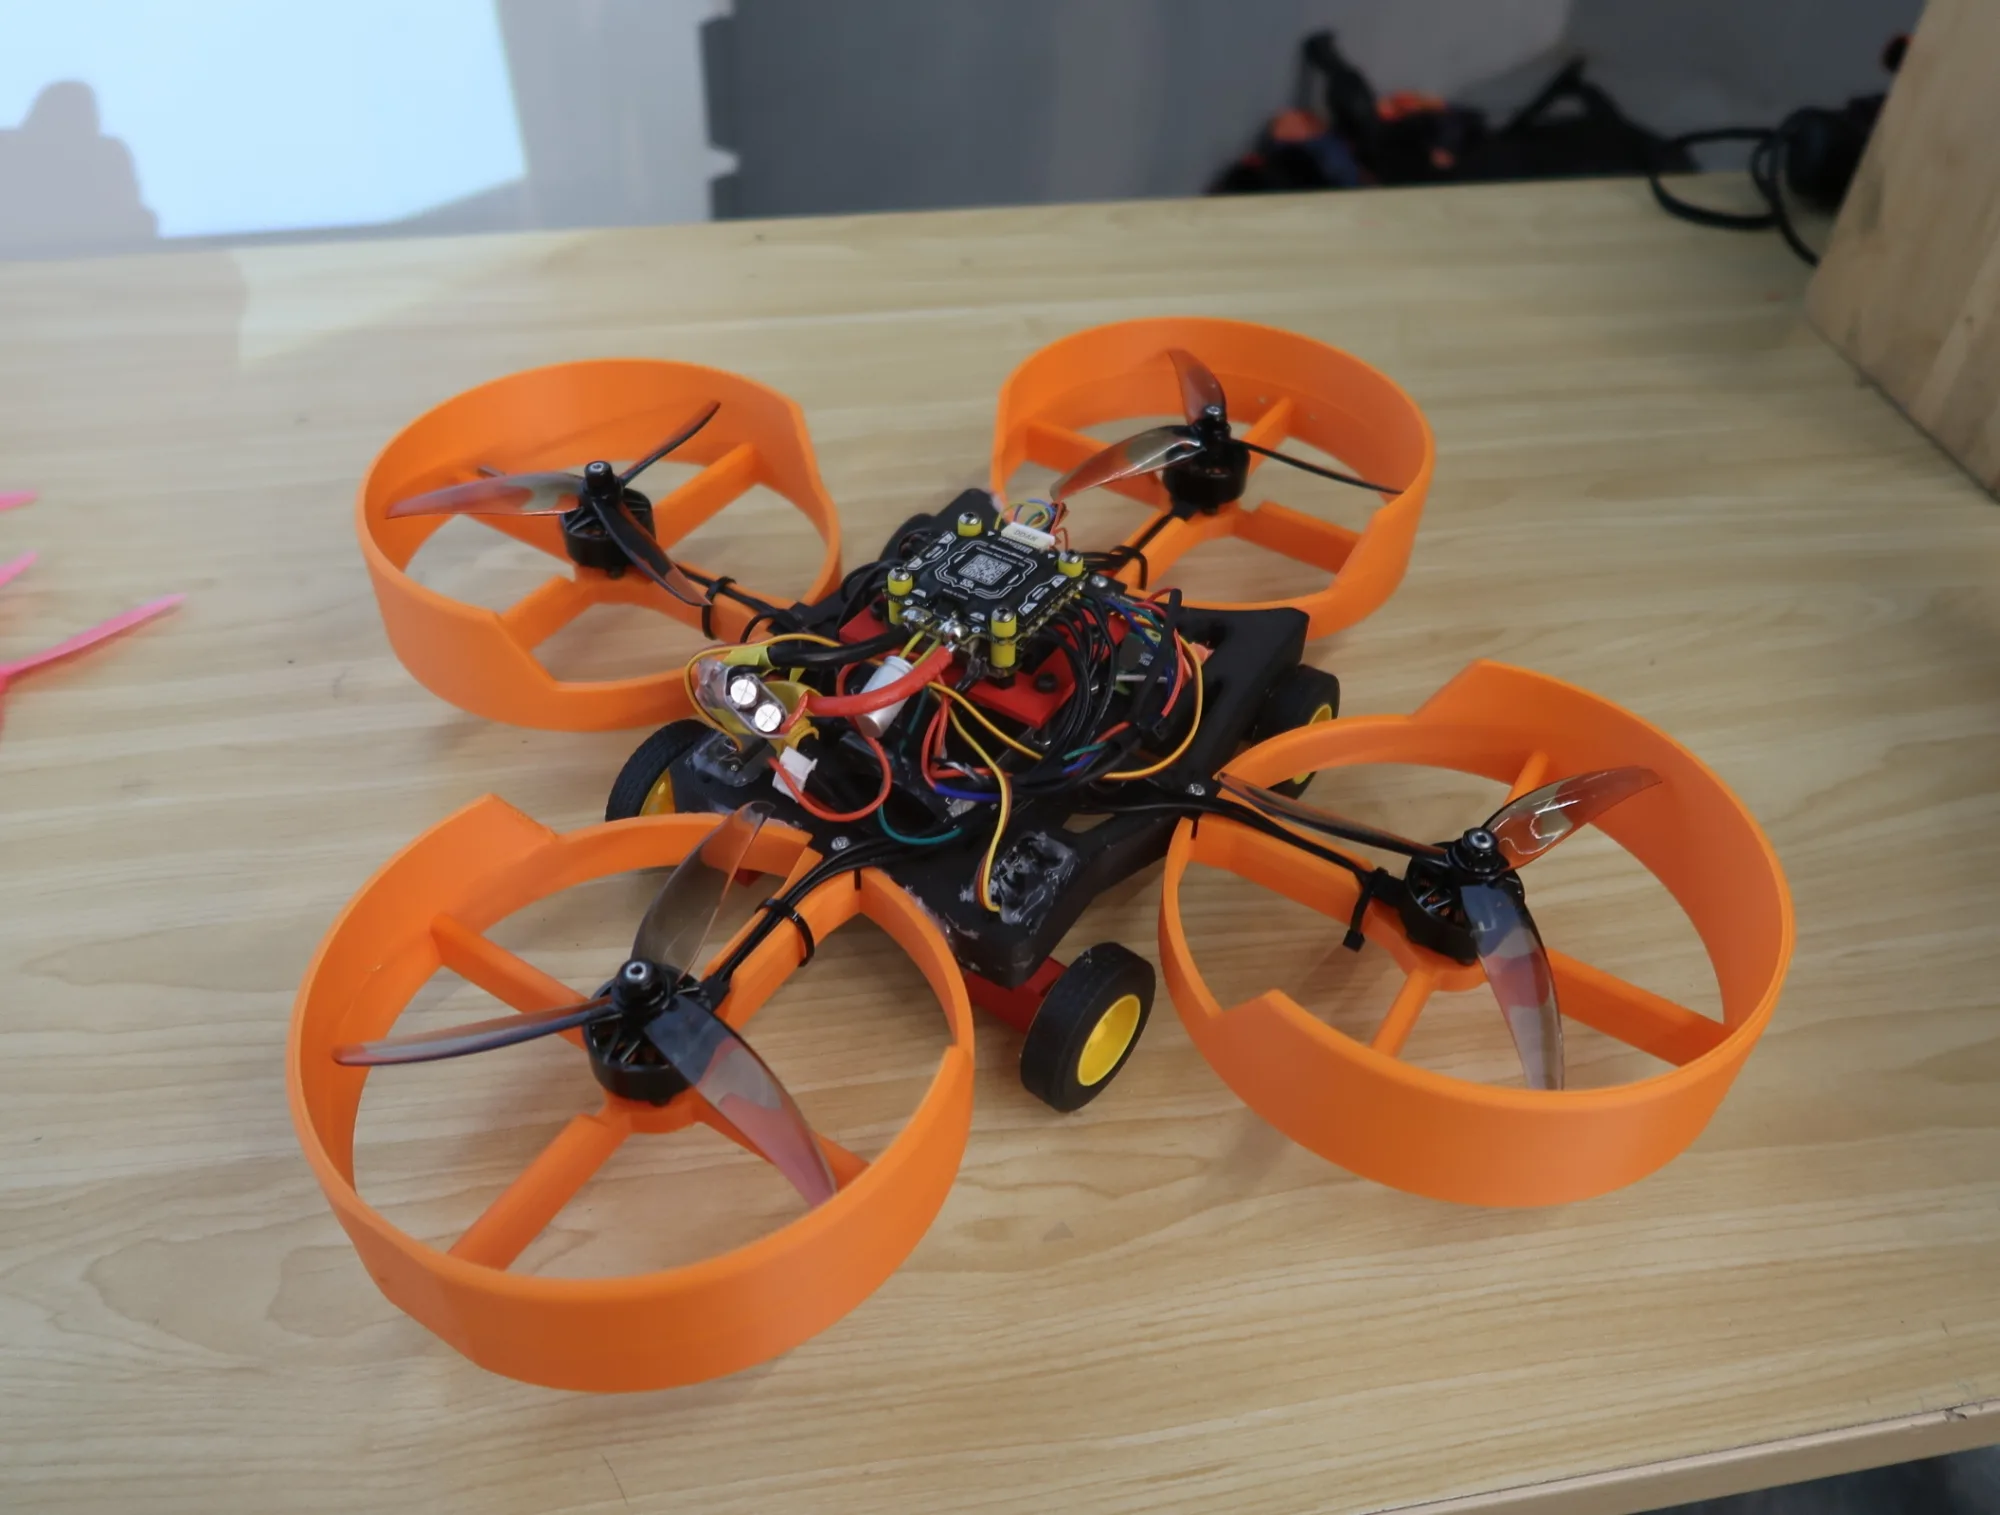
After I submitted the project for Fallout, I visited China and participated there. We built a drone again there; this time it could also drive, besides flying.
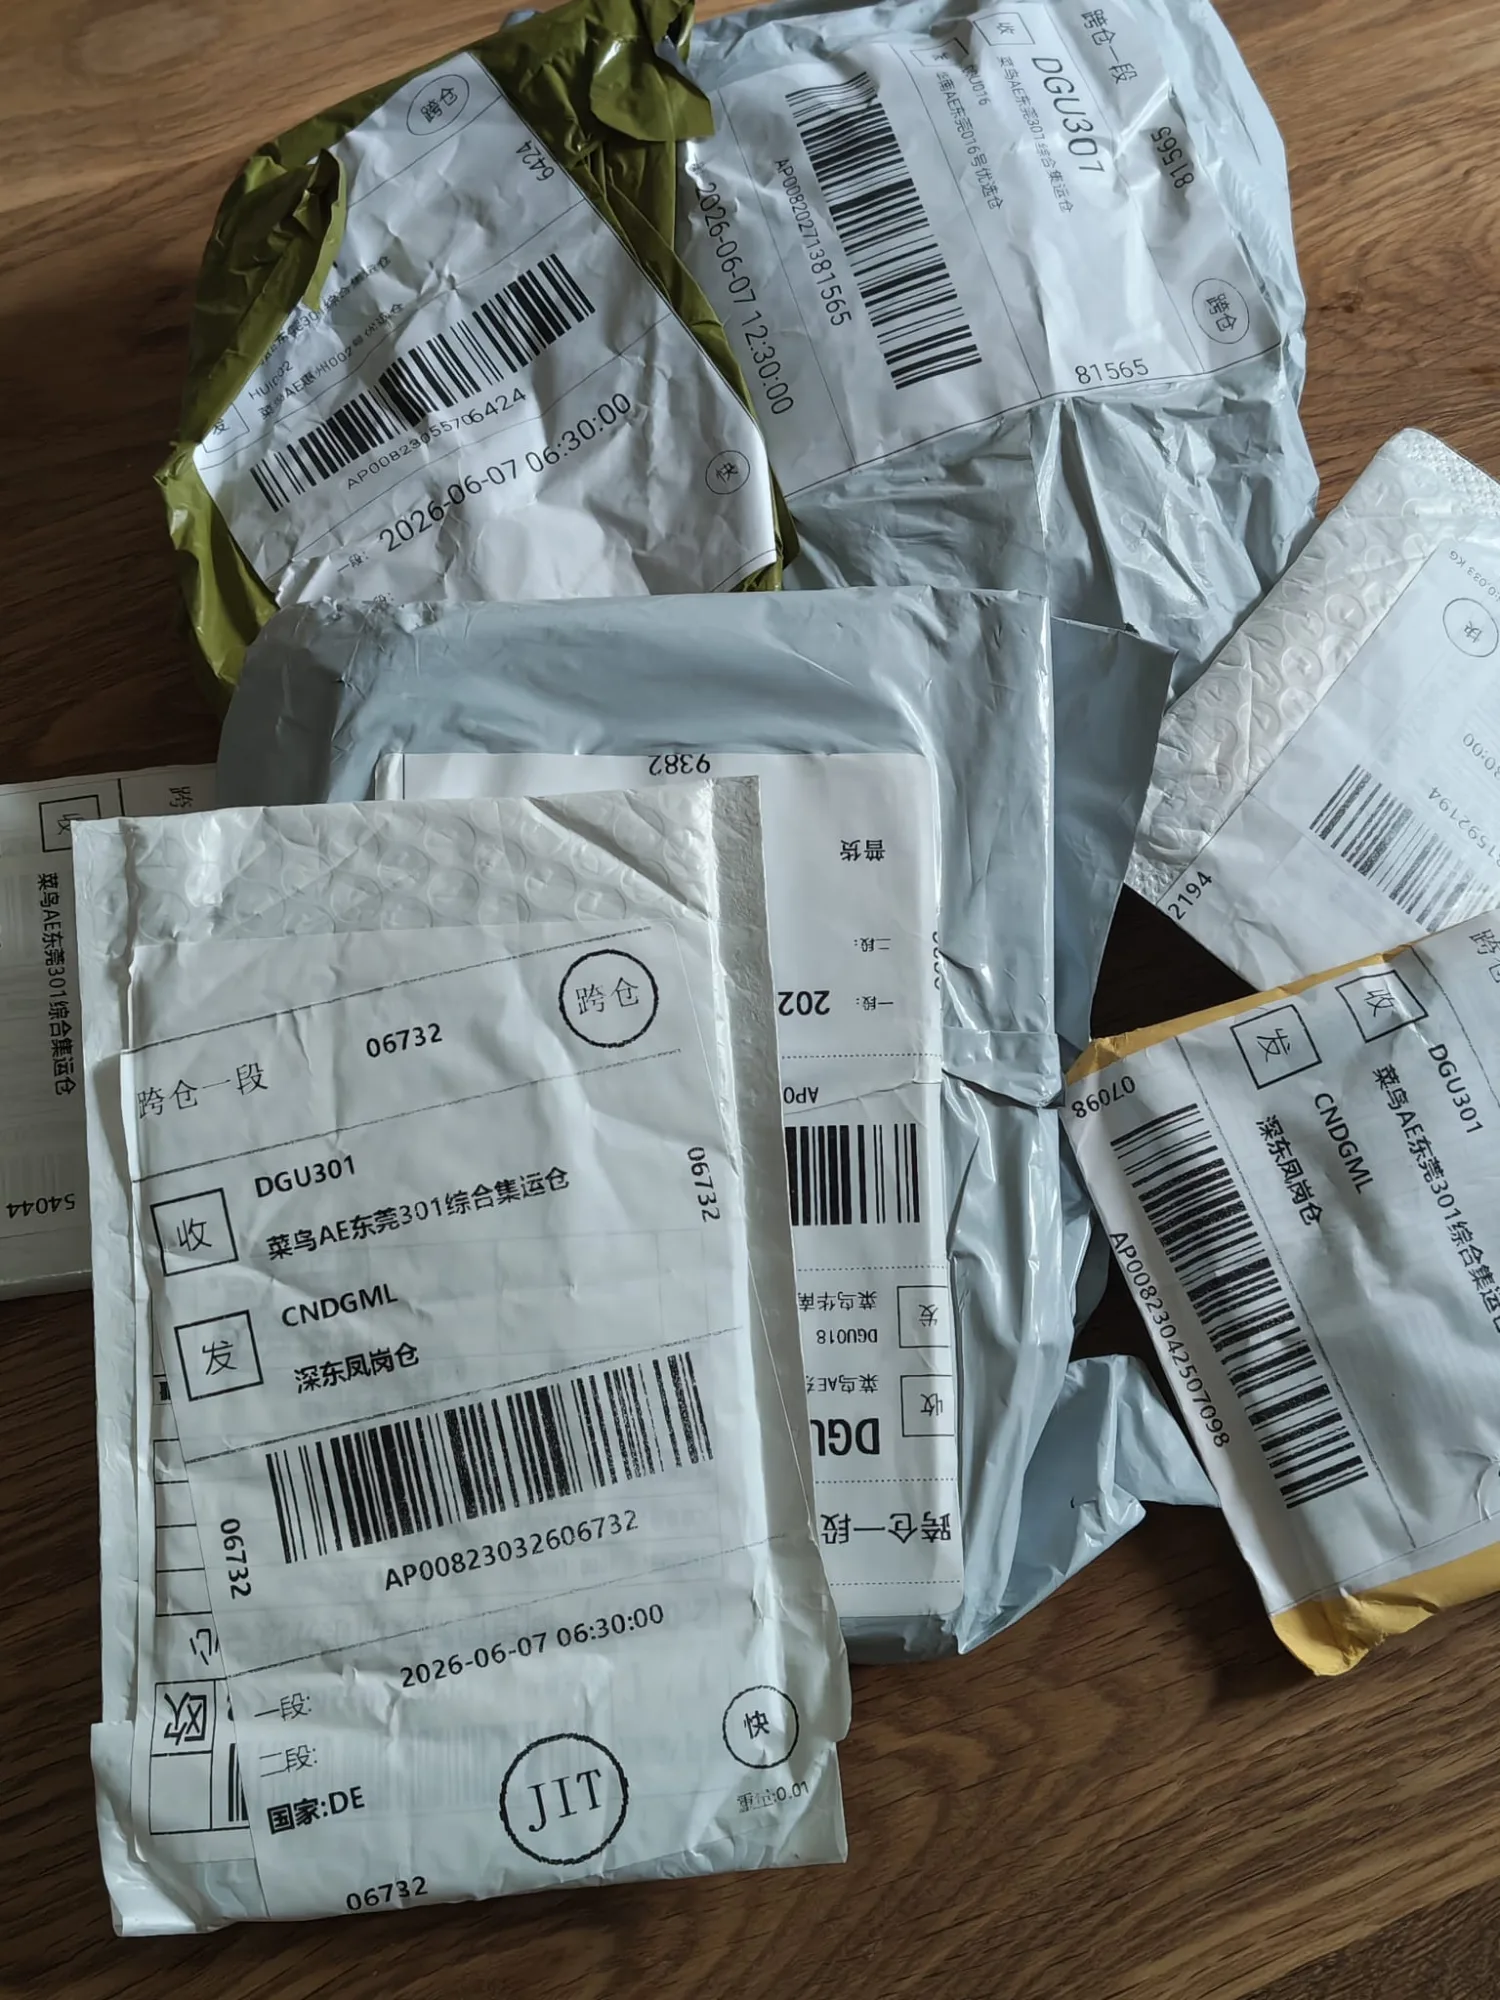
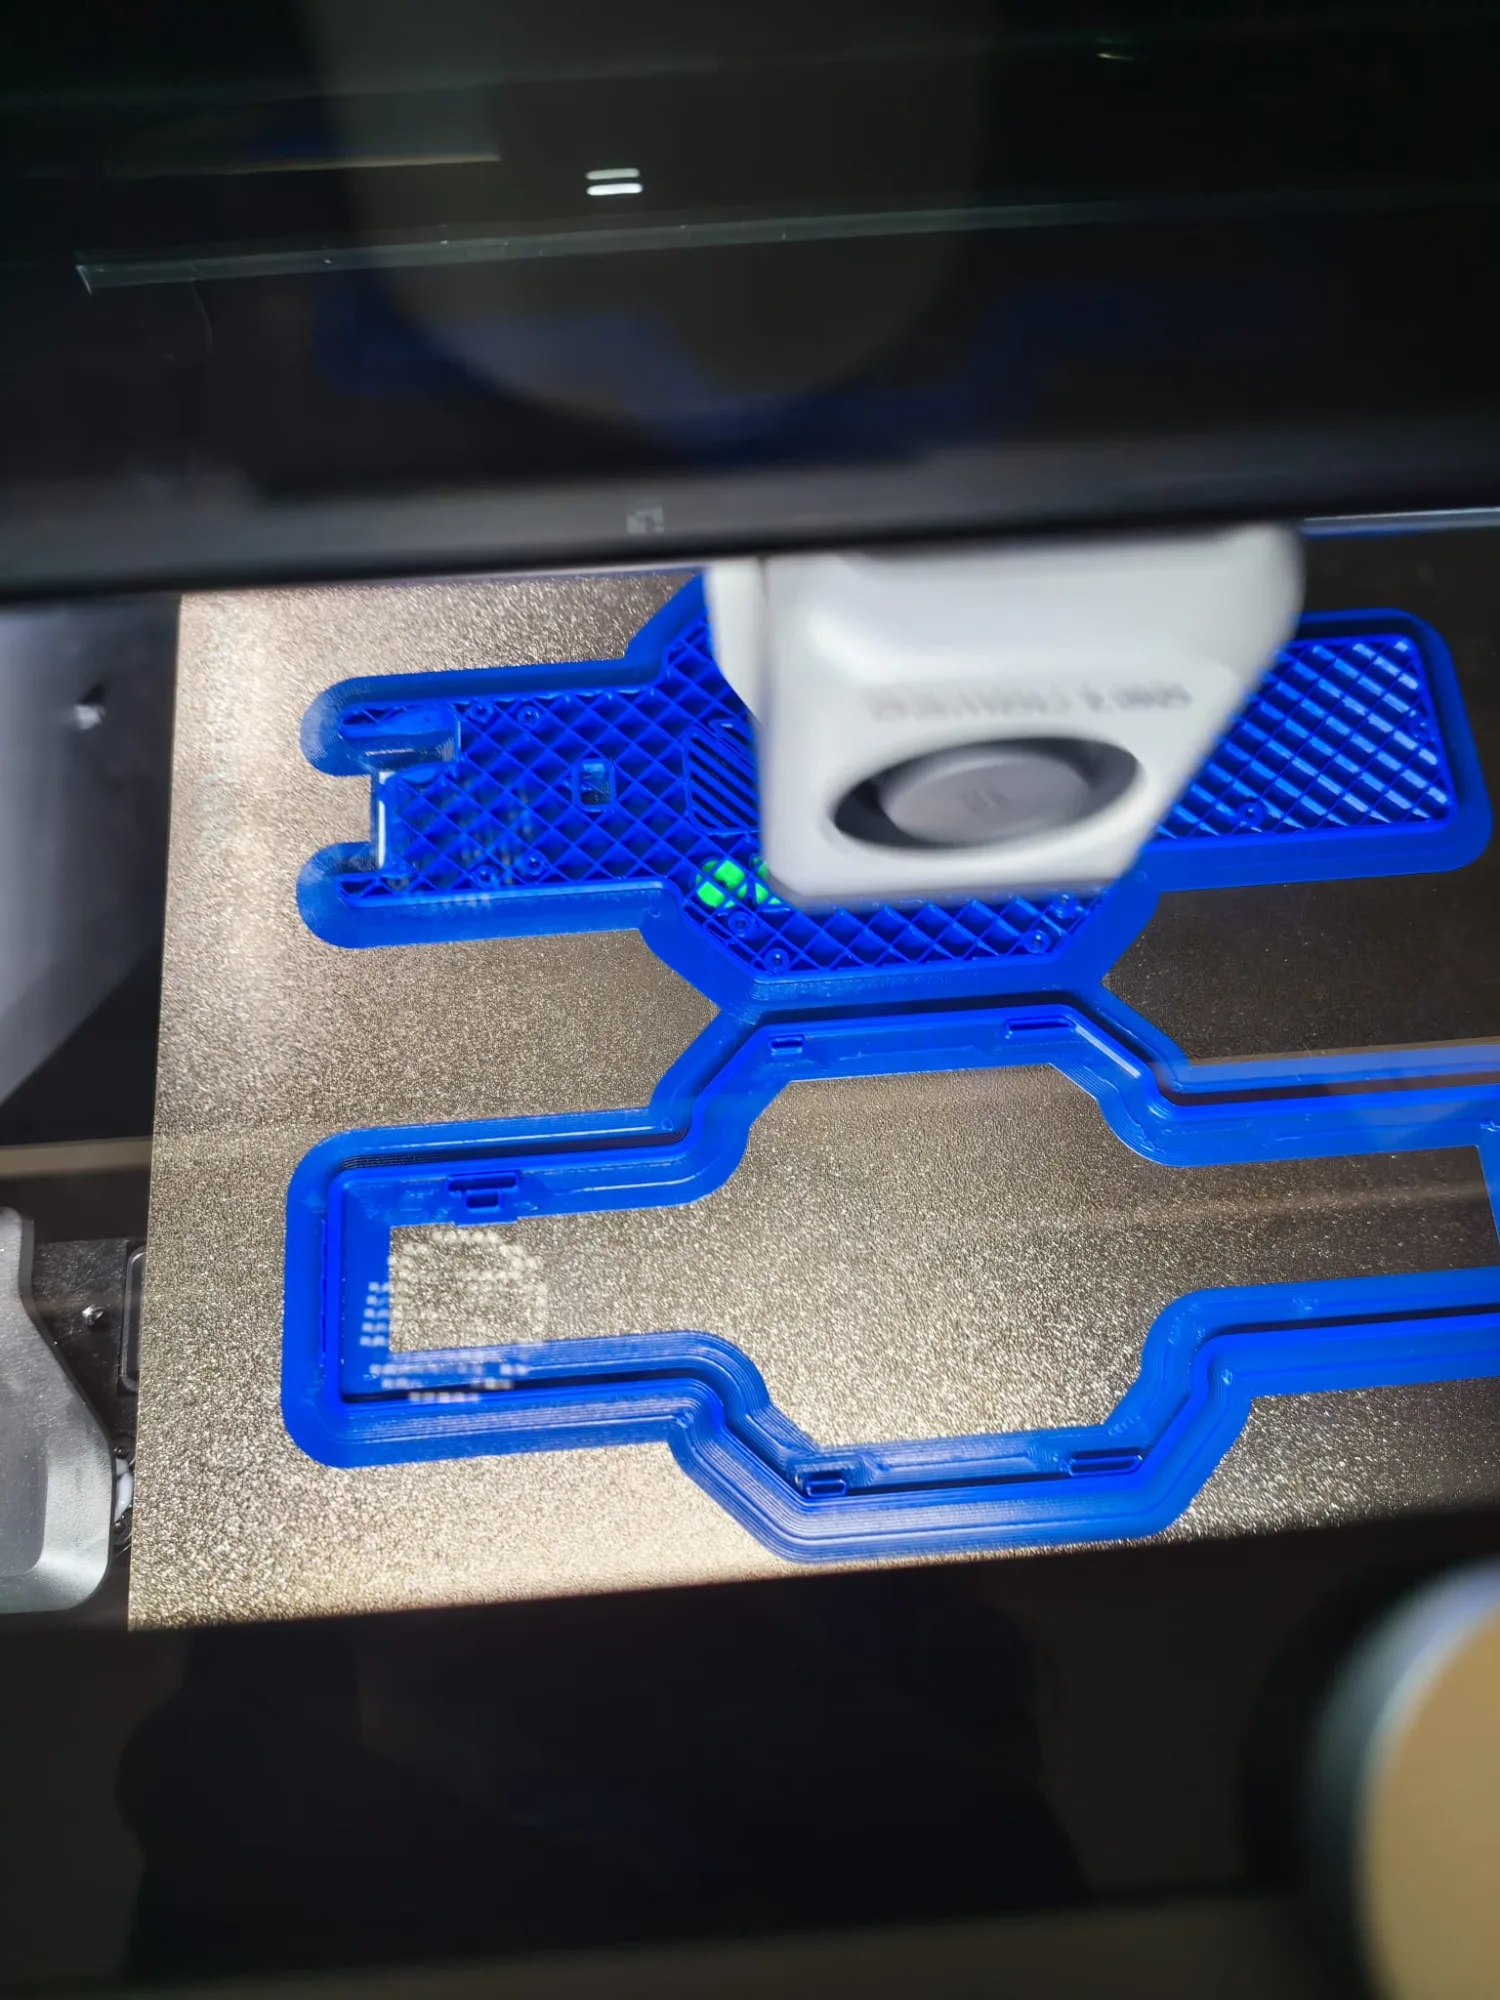
After I came back from China, all the parts arrived and I started 3D printing all the parts of the drone:
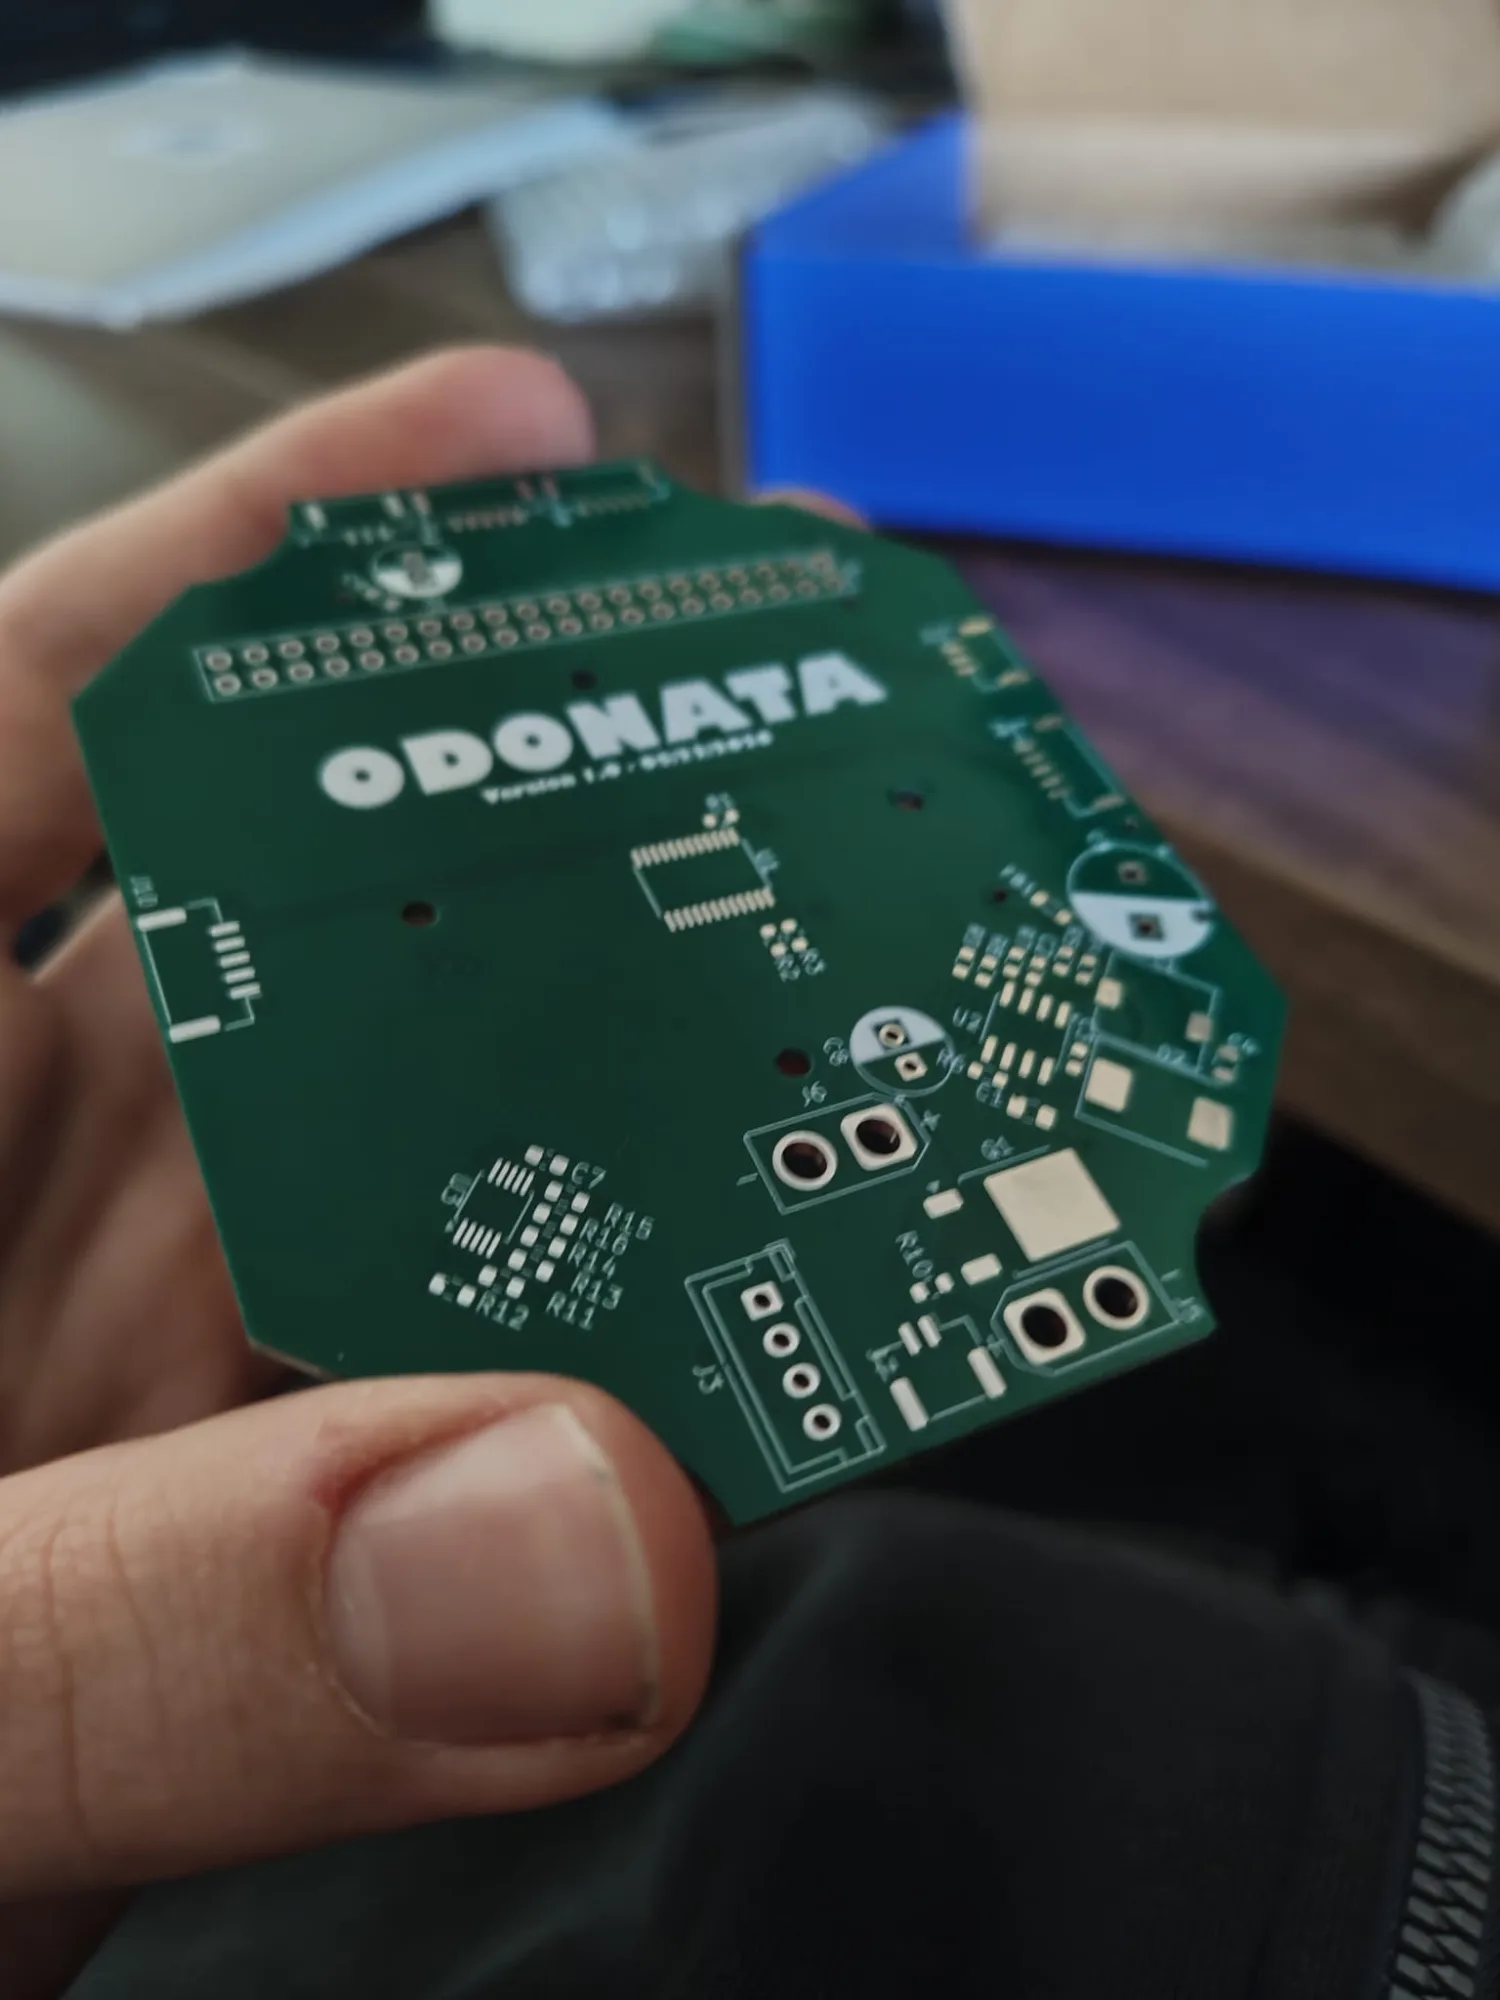
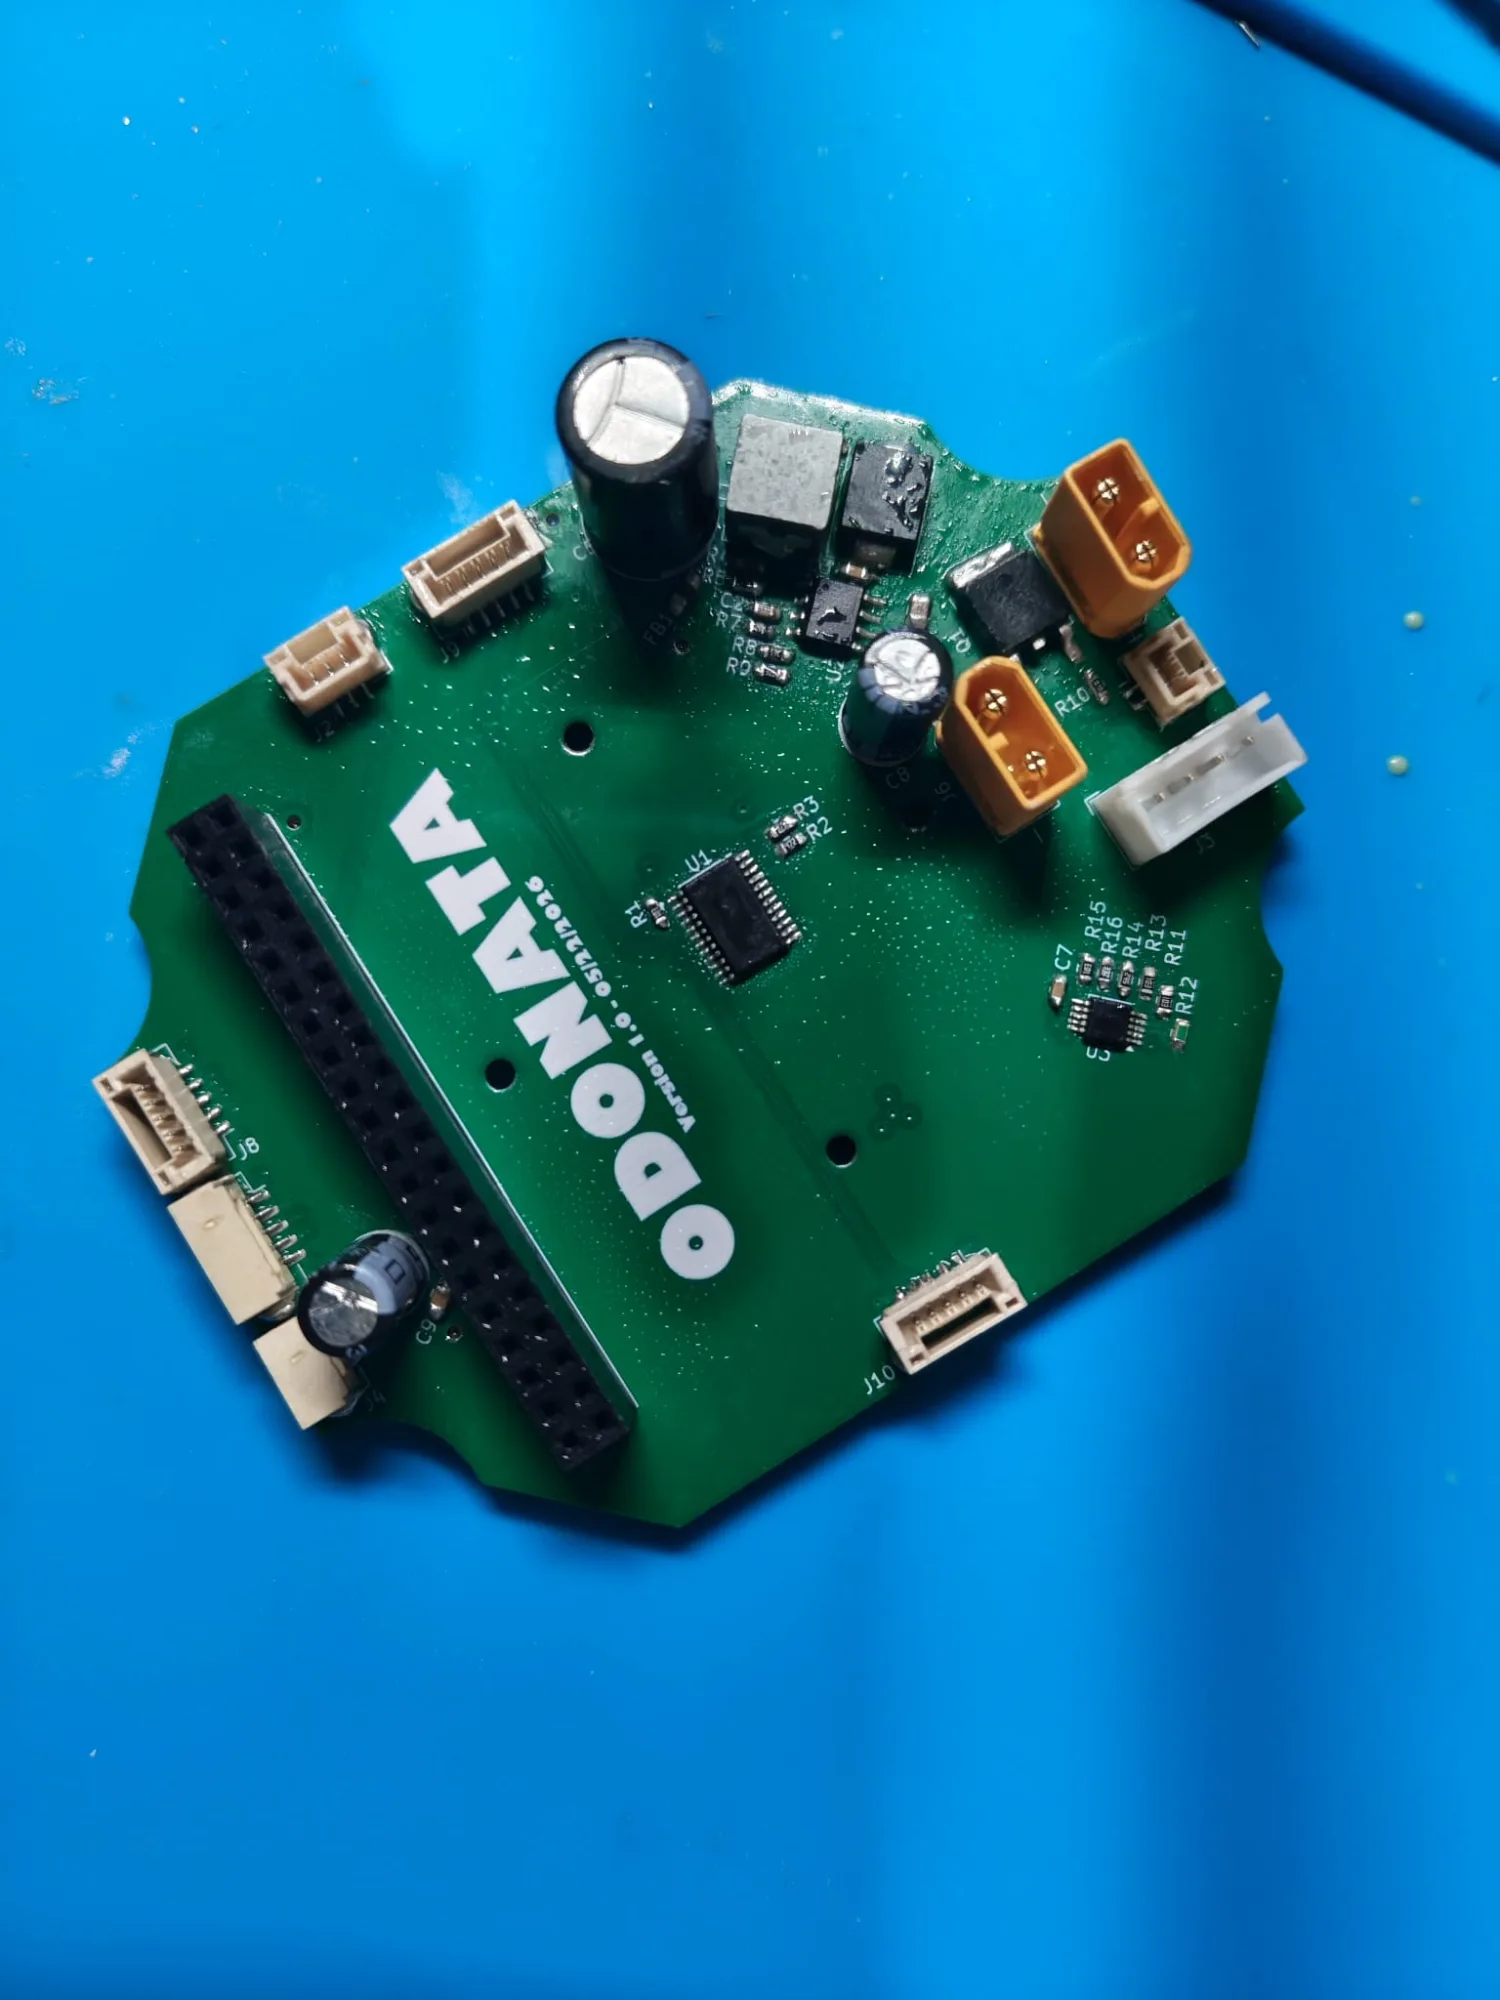
Then I began to solder the PCB with all of its parts on it. It was kinda fun, but also sometimes extremely horrible to solder them. In the end I made it (I accidentally drew the plus as the negative in the schematic and I almost destroyed my PCB and battery, but my reaction time was faster than the destruction).
Building the drone
The next part was BUILDING THE DRONE. It was kinda amazing until I noticed that I had mirrored the position of the Raspberry Pi on the PCB, so I couldn't just put it on the PCB and had to wire it up with extra cables, and it became even messier than before.
But the real problem was that my Raspberry Pi Zero 2 W didn't arrive and I was on vacation for the whole summer break, so I had to use the old Raspberry Pi 4B from my school, which was like a big, heavy brick on top of the drone.
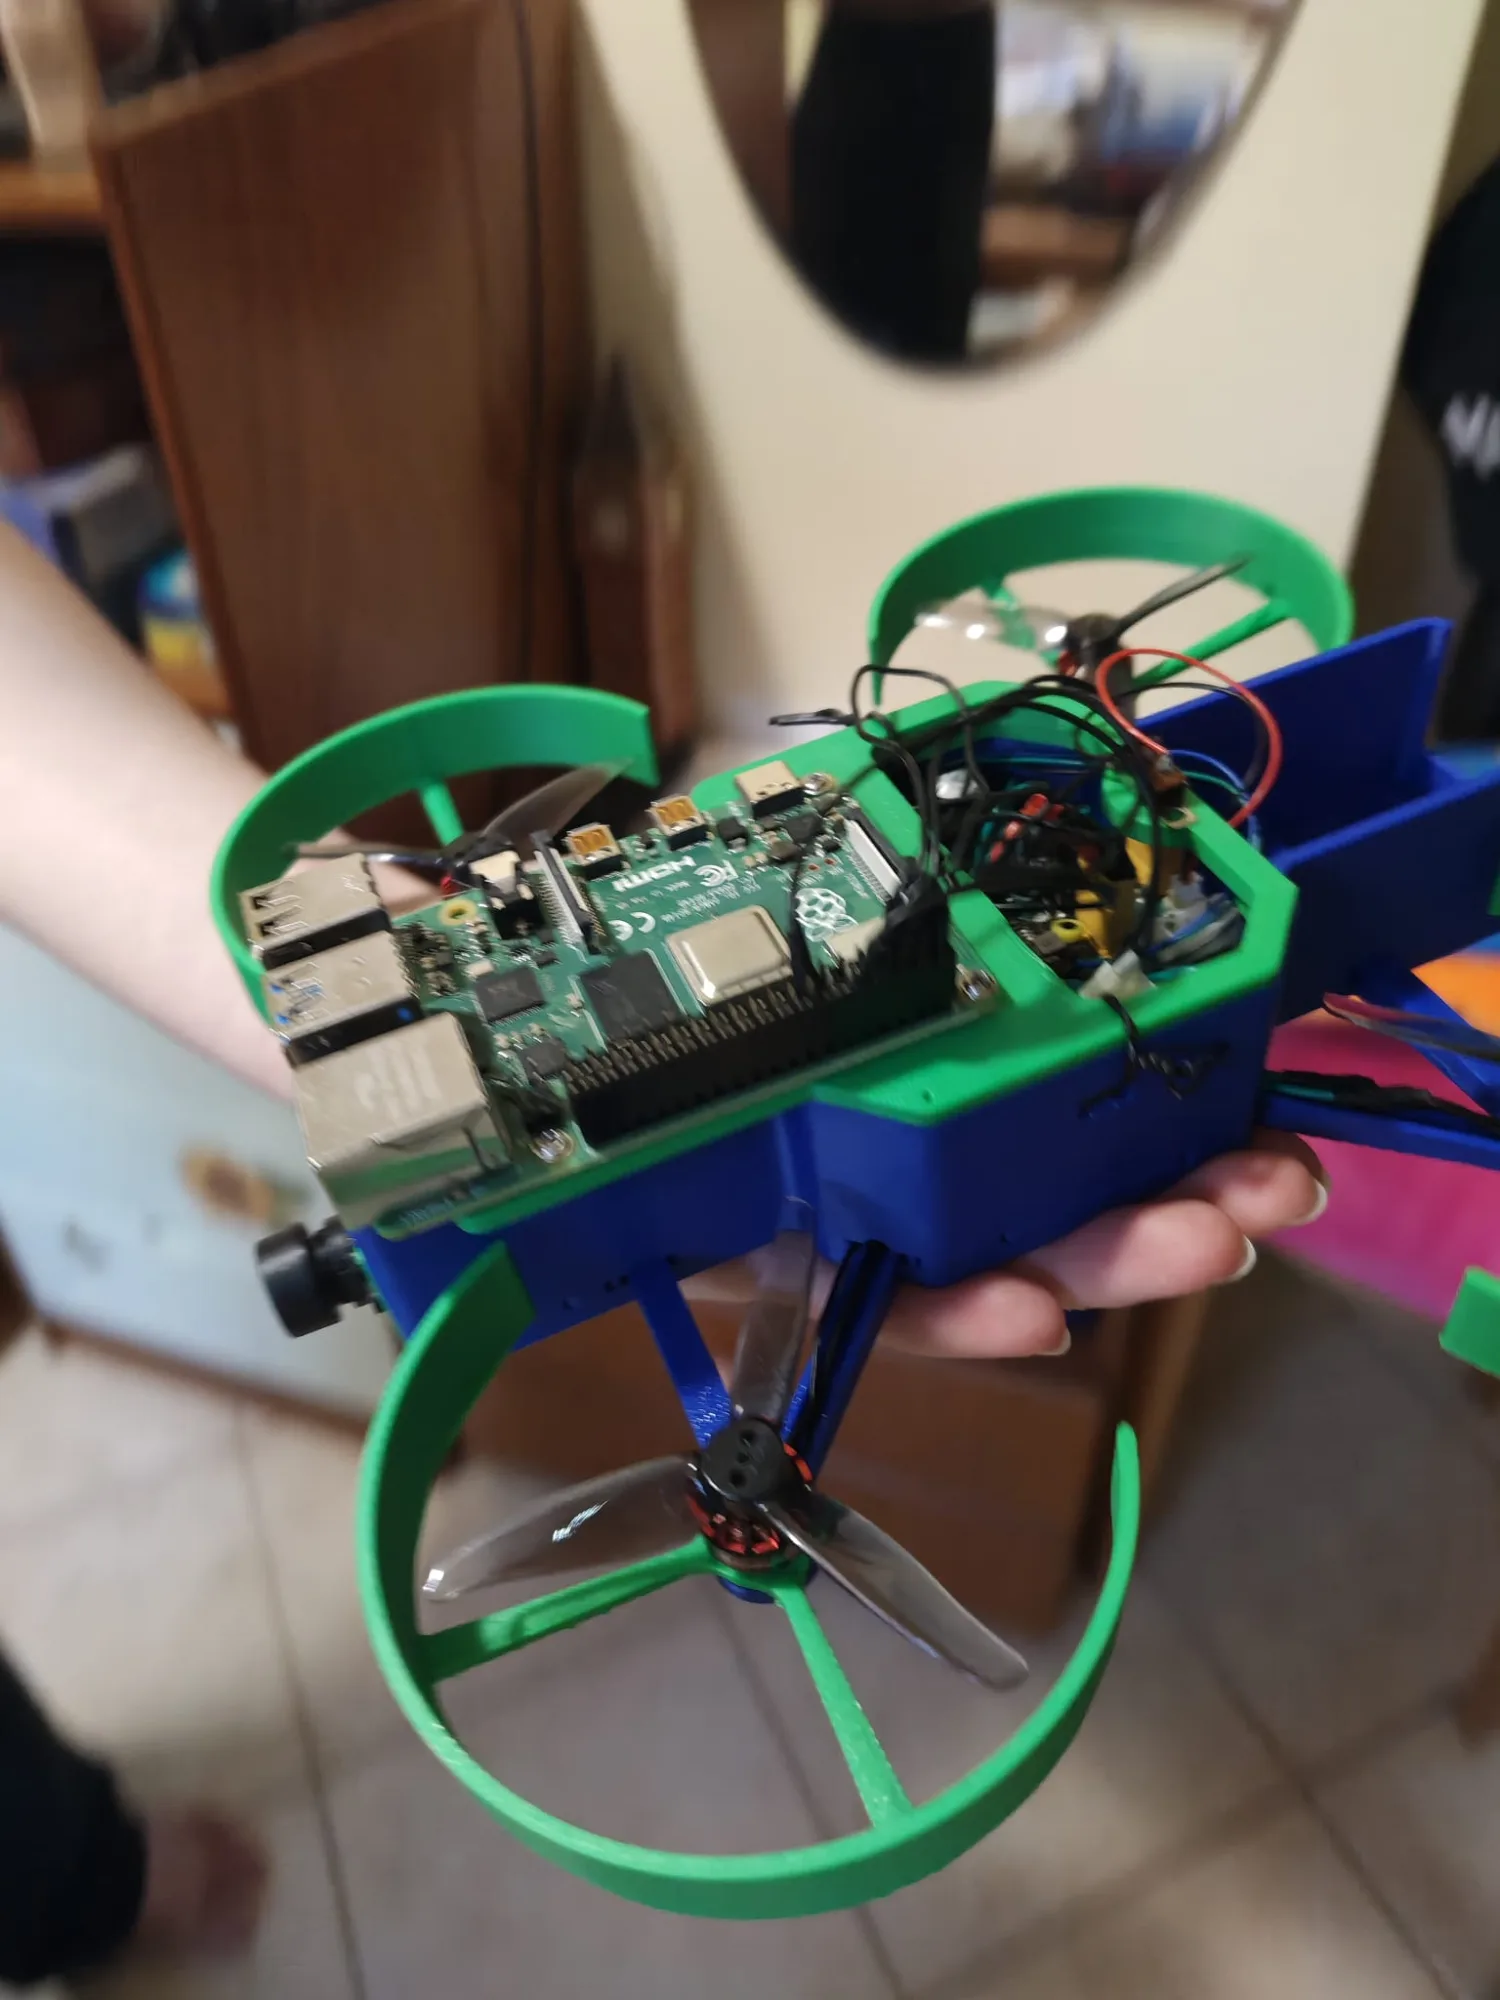
But after testing the motors and finding out that they worked, was just the best feeling:
But this was (unfortunately) just the beginning, because I had to recode the WHOLE CODEBASE. While ordering the FC, I didn't see that it only had 500 KB of storage, so MAVLink couldn't work on the FC and I had to use Betaflight MSP for the whole thing, which was absolutely horrible.
But after very long nights (and of course multiple tries) it took off for the first time:
It's not very spectacular, because it just took off like 5 cm and then bounced on the floor, but it's some progress, not nothing.
Oh, and by the way, I needed the 2 cables because I fried the PCB or didn't solder it very well, so the 5V converter converted the 12.6V of the LiPo to only 4.8–4.9V. When the motors started, the Raspberry Pi rebooted all the time, so it needed power over USB-C.
For some reason the Raspberry Pi also couldn't connect via Wi-Fi. I tried everything to fix that: using 2.4 GHz instead of 5 GHz, using WPA2 security, doing resets. The only thing that worked was rebooting the Pi, so that it worked for a couple of minutes and then needed rebooting again.
And this way I lost all my code again, because I hadn't committed all of my changes to GitHub, and the backup that I made was only the boot files and not the Linux file system where my code was. Sooooo I HAD TO REWRITE MY CODE THE 3RD TIME IN 3 MONTHS!!!
Anyways, after coming back to Germany and school starting, my Raspberry Pi arrived. I had the idea to add AprilTags under the drone so they can work like an indoor GPS and the drone can stabilize itself indoors.
But what I found out was that, when taking off, the drone found the AprilTag too late, because it had to climb over 15 cm to see one. That's why I designed and printed legs for the drone and made the AprilTags at the takeoff area smaller (tags 5 cm wide). That way the drone could see the tags before taking off, which worked pretty well:
The crash and the new (and better) raspi
After some more flights, the drone lost control and crashed into the ground. It happened because the ToF sensor couldn't measure as far as 1 m, so when the drone flew higher than 1 m it just kept climbing, crashed into the ceiling, the failsafe activated and the drone fell down:
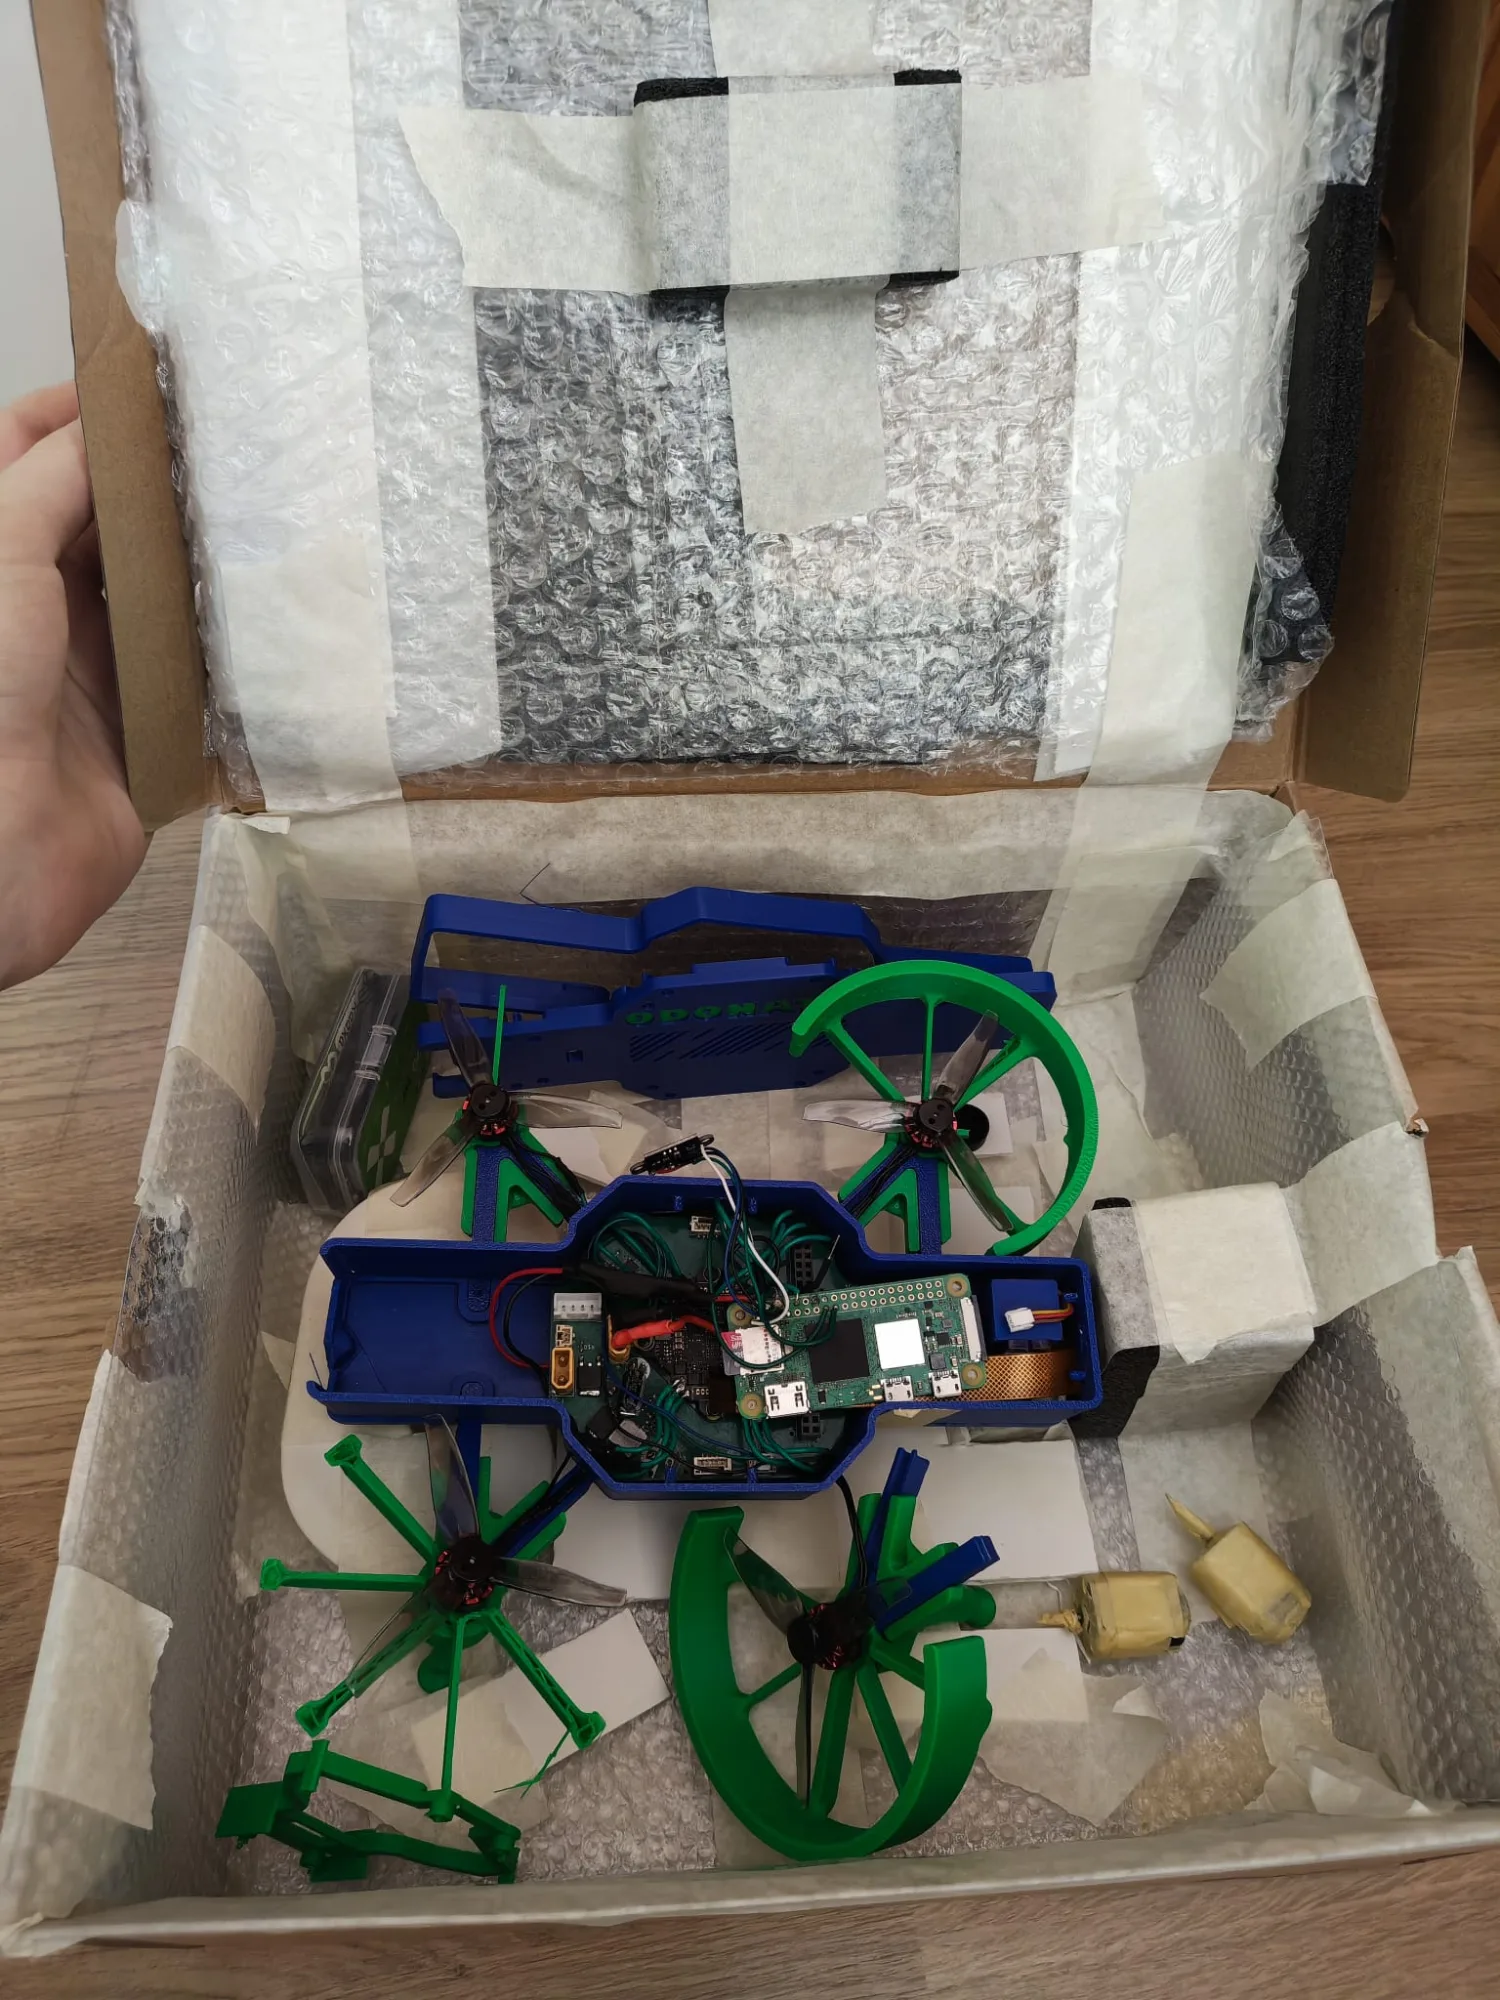
After trying to check the flight data of that flight, I found out that the Raspberry Pi was dead T-T
After researching how much a new one costs (the old one I bought in Shenzhen, China, was half the price), it turned out to be over 100 €, which was too much for a new one.
So after searching for alternatives, I found the Radxa Zero 3W, which is half the price and at least twice as good as the Raspberry Pi. SO I ordered it:
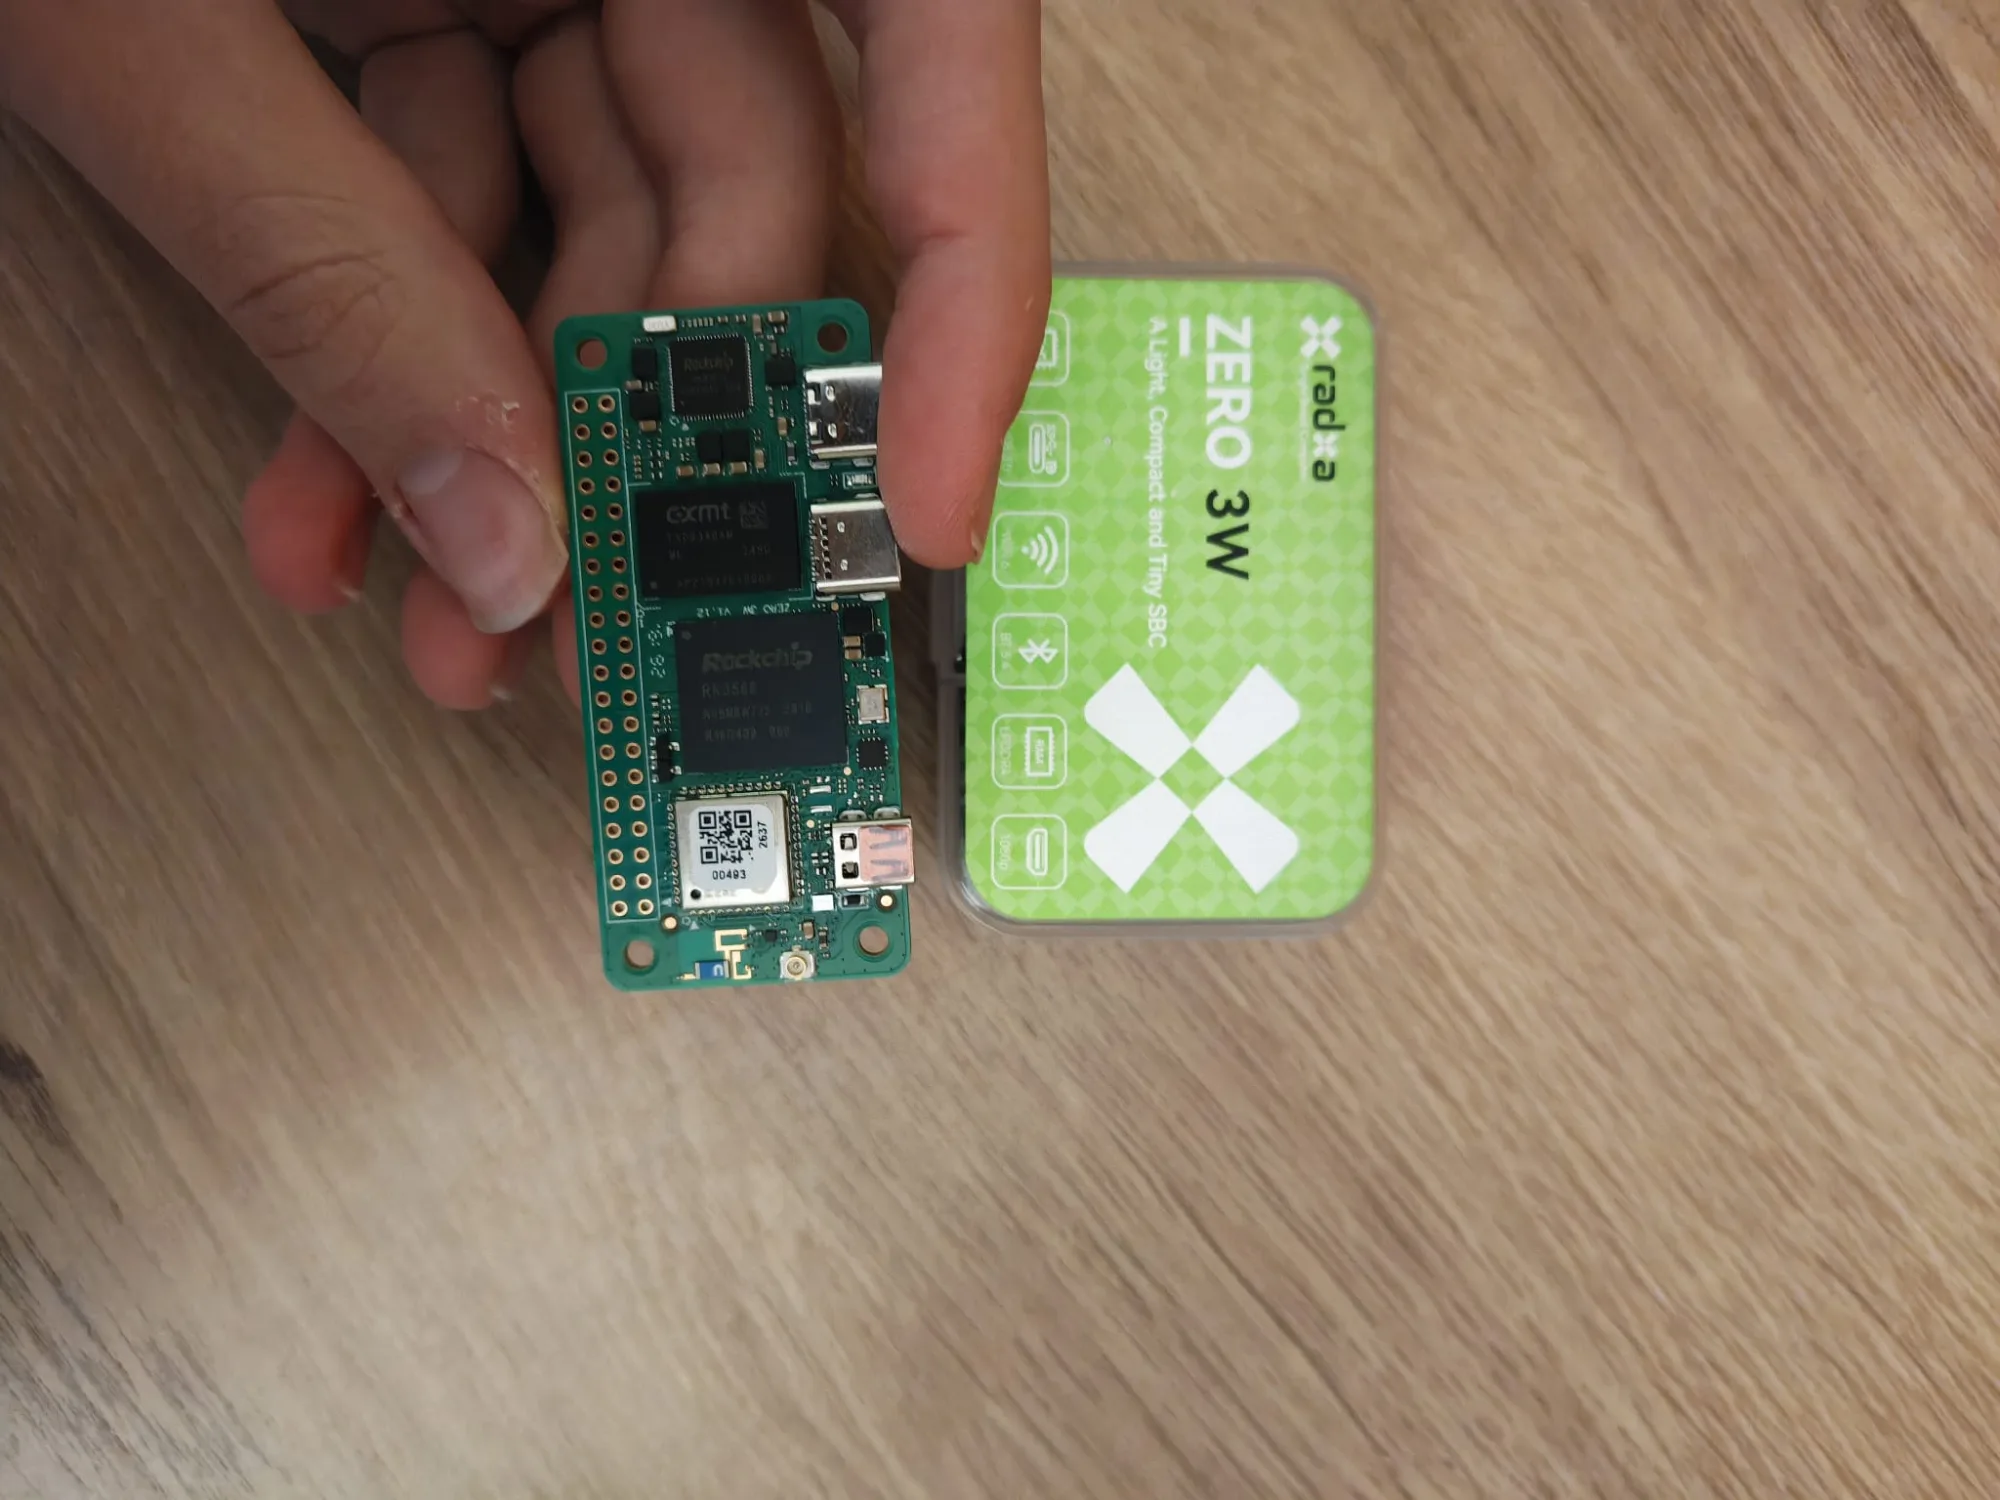
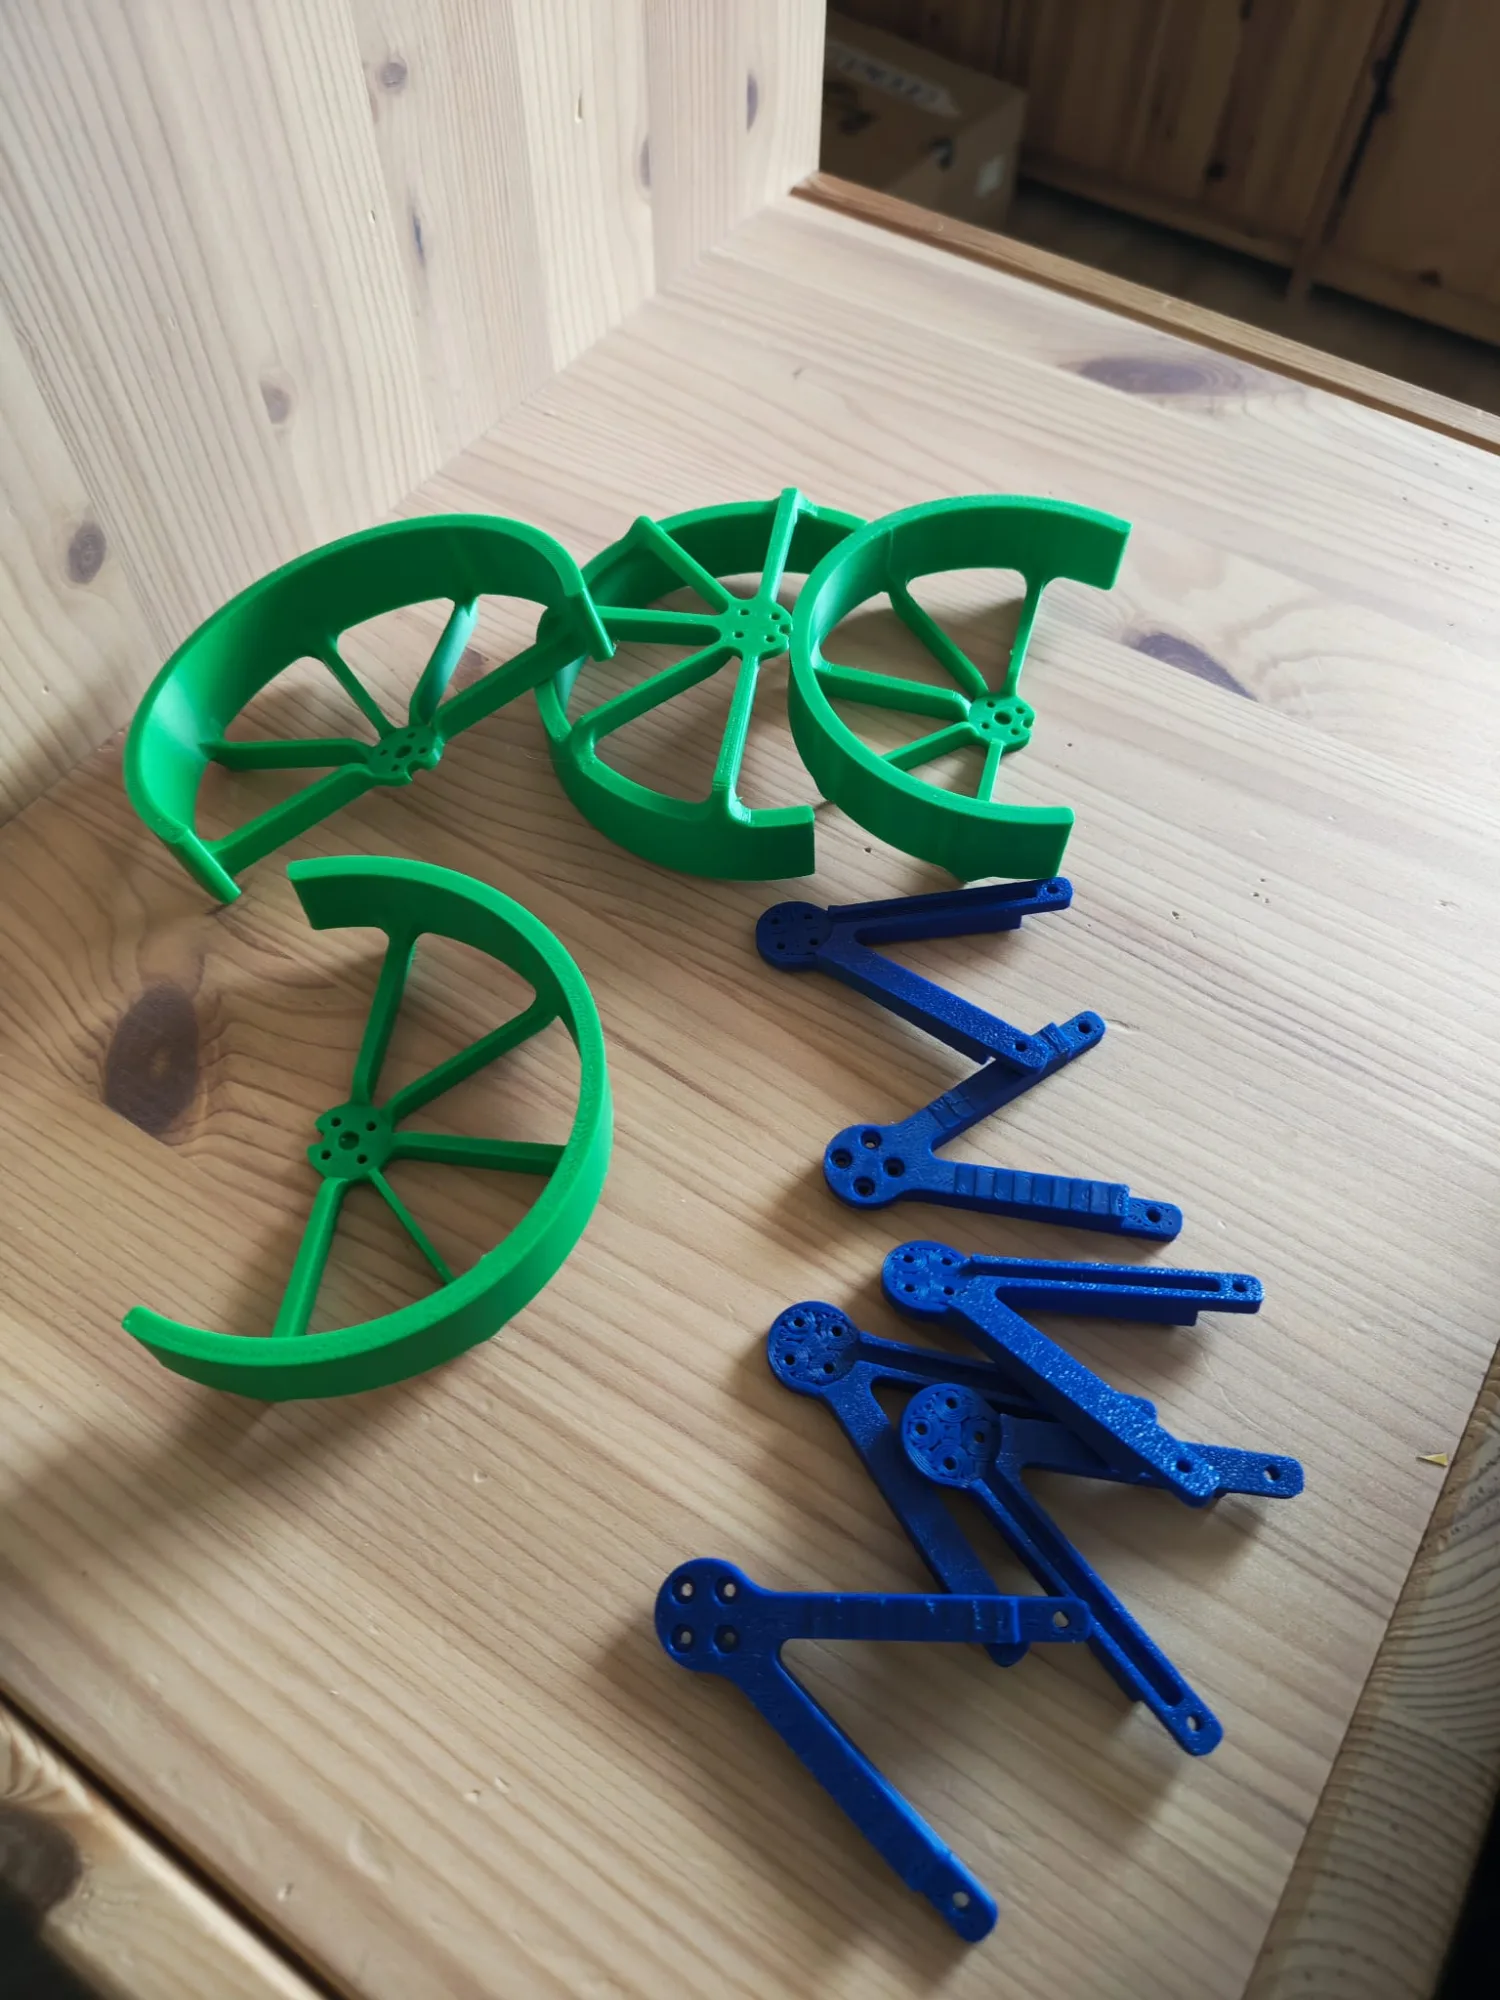
I'm currently printing the parts for the drone, and hopefully the next test flight will be successful:
What's next
MY goal is that V1 can fly stable and fly certain patterns. But I also have to start soon with V2, so that I'll have the drone flying and training its AI until January. But first I'll finish V1.
It was fun again to write the journal again after the last 5 MONTHS! The next post will hopefully be in the next 2 days, because I still have to print the cover, the walls and the Radxa holder.
I'll log only 1h for this journal, because writing didnt took too long, but the process of building all of this took at least over 50h.
See ya!